
I must confess that I have not yet perfected the art of making biscotti. I will readily admit that these biscotti taste pretty good. At the same time, I am still working to fine-tune the exact baking science associated with these delightful treats.
Biscotti is derived from the Latin term meaning "twice-baked." This was a term applied to oven-baked goods that were, indeed, twice-baked and could, therefore, be stored for longer periods of time. Twice-baked breads were allegedly a staple of the Roman legions
Gingerbread, in its broadest sense, refers to a range of baked goods flavored with ginger and sweetened with honey, sugar, or molasses. Gingerbread baking is believed to have developed in continental Europe just before 1000 AD. As Europeans settled in North America, they brought their gingerbread recipes with them. An early American cookbook from the 1790s reportedly has seven different recipes for gingerbread!
These gingerbread biscotti are sweetened with molasses. I like using this partially dried ginger in my biscotti for both the flavor and a little added texture and interest.

Here's how to bake these biscotti:
Ingredients:
1/2 cup butter (I've only used real butter so I can't speak to how margarine might work)
1/2 cup sugar
1/2 cup packed brown sugar
1 1/2 tbsp lightly dried ginger
3/4 tsp cinnamon
1/2 tsp nutmeg
1/4 tsp cloves
2 eggs
3 tbsp molasses
2 1/2 cups flour
2 tsp baking powder
1/2 cup sliced almonds (optional)
white chocolate for dipping (optional)
Here's the sequence for mixing the ingredients:
1. Cream the butter and both types of sugar together.
2. Beat in the ginger, cinnamon, nutmeg, and cloves.
3. Beat in the eggs and molasses.
4. Fold in the flour and baking powder.
5. Fold in the almonds.
Now it's time to prepare the dough for baking. The first bake is the trickier of the two. The goal is to bake all the way through much like a cake. This actually is much easier said than done. I am going to demonstrate the technique in two ways - first of all by dividing the dough in half and the second by dividing the dough in quarters.
Here is the typical approach in which you divide the dough in two portions. I start by shaping the dough into logs. (Baking hint: instead of using a non-stick spray or parchment paper, I use a silicone baking mat. These are a great investment.)

I then flatten the dough out. I also try to square up the ends as much as possible. This will support slicing the biscotti after the initial bake.


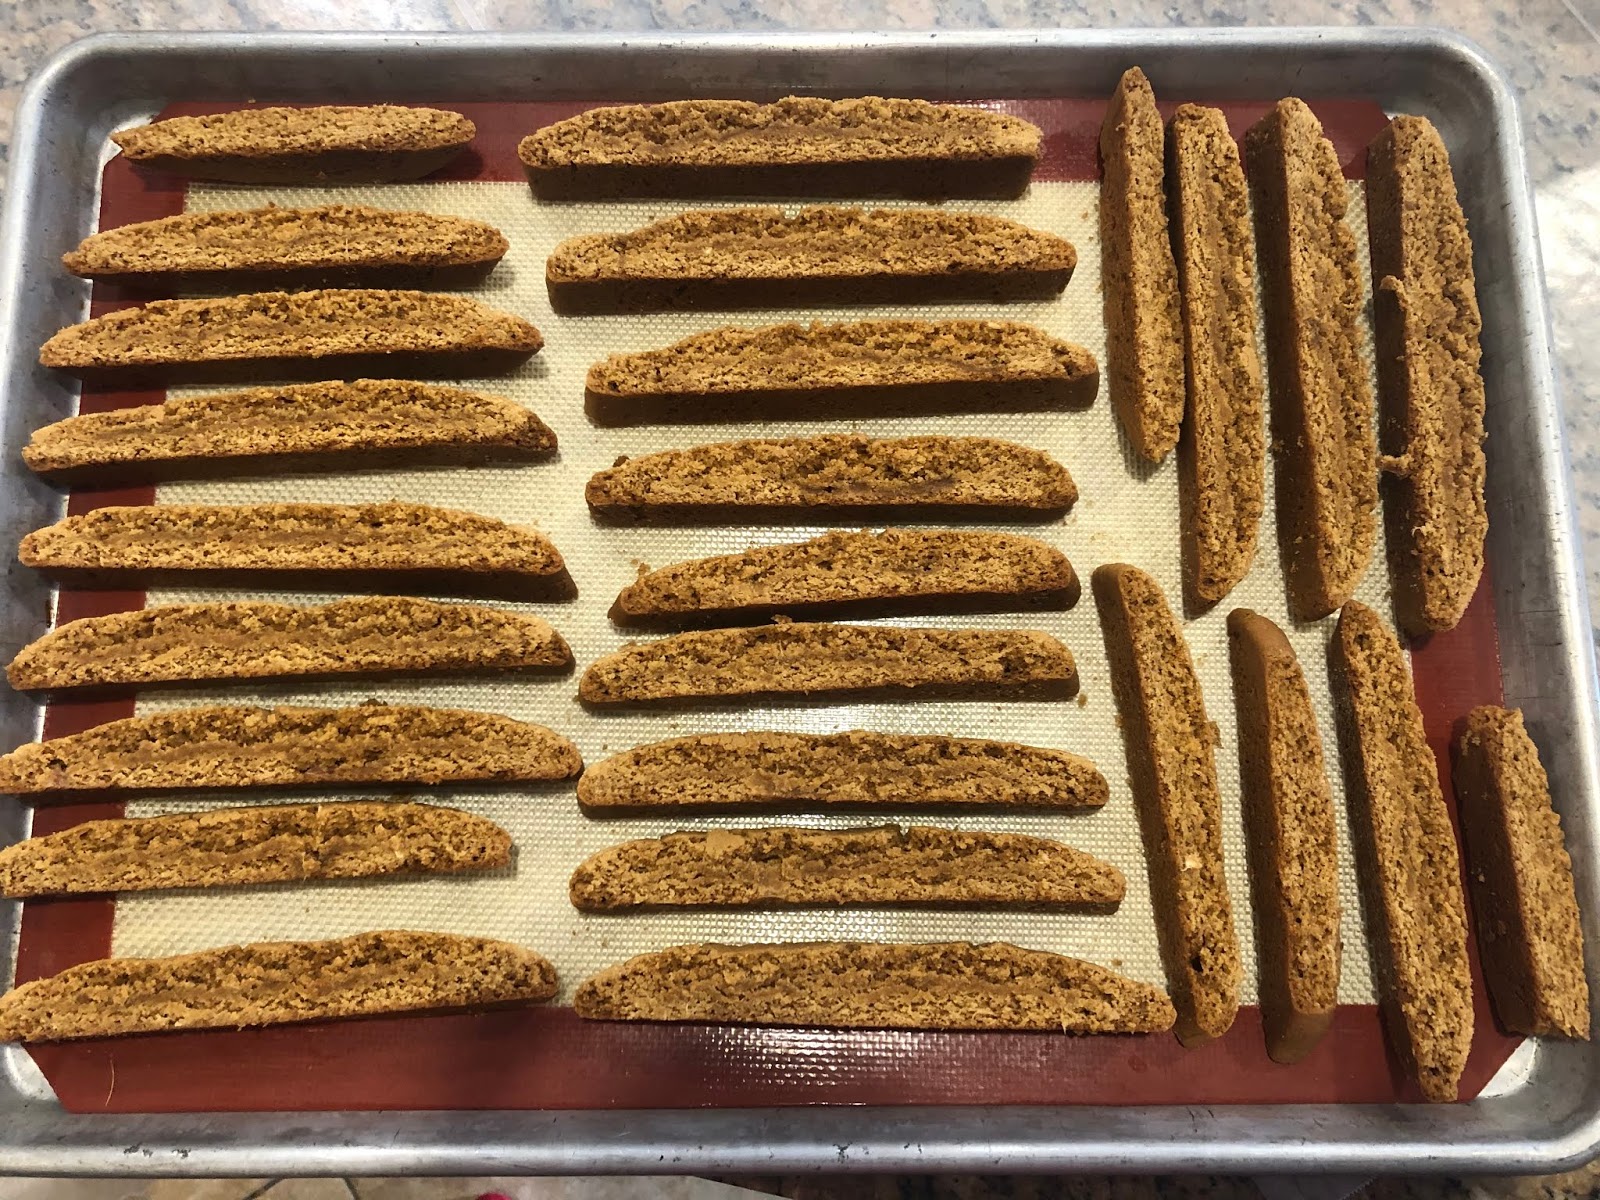
After baking is complete, allow the baked logs to cool for about 15 minutes. After they have cooled, cut into 1/2 inch slices with a serrated knife. Place them cut side down on a baking sheet. Here is a picture of mine before they went back in the oven. The sheet includes the slices from both logs.
If you look closely, you can see some darker horizontal lines through them that indicate areas that weren't fully baked through (remember how I said this first bake is easier said than done).
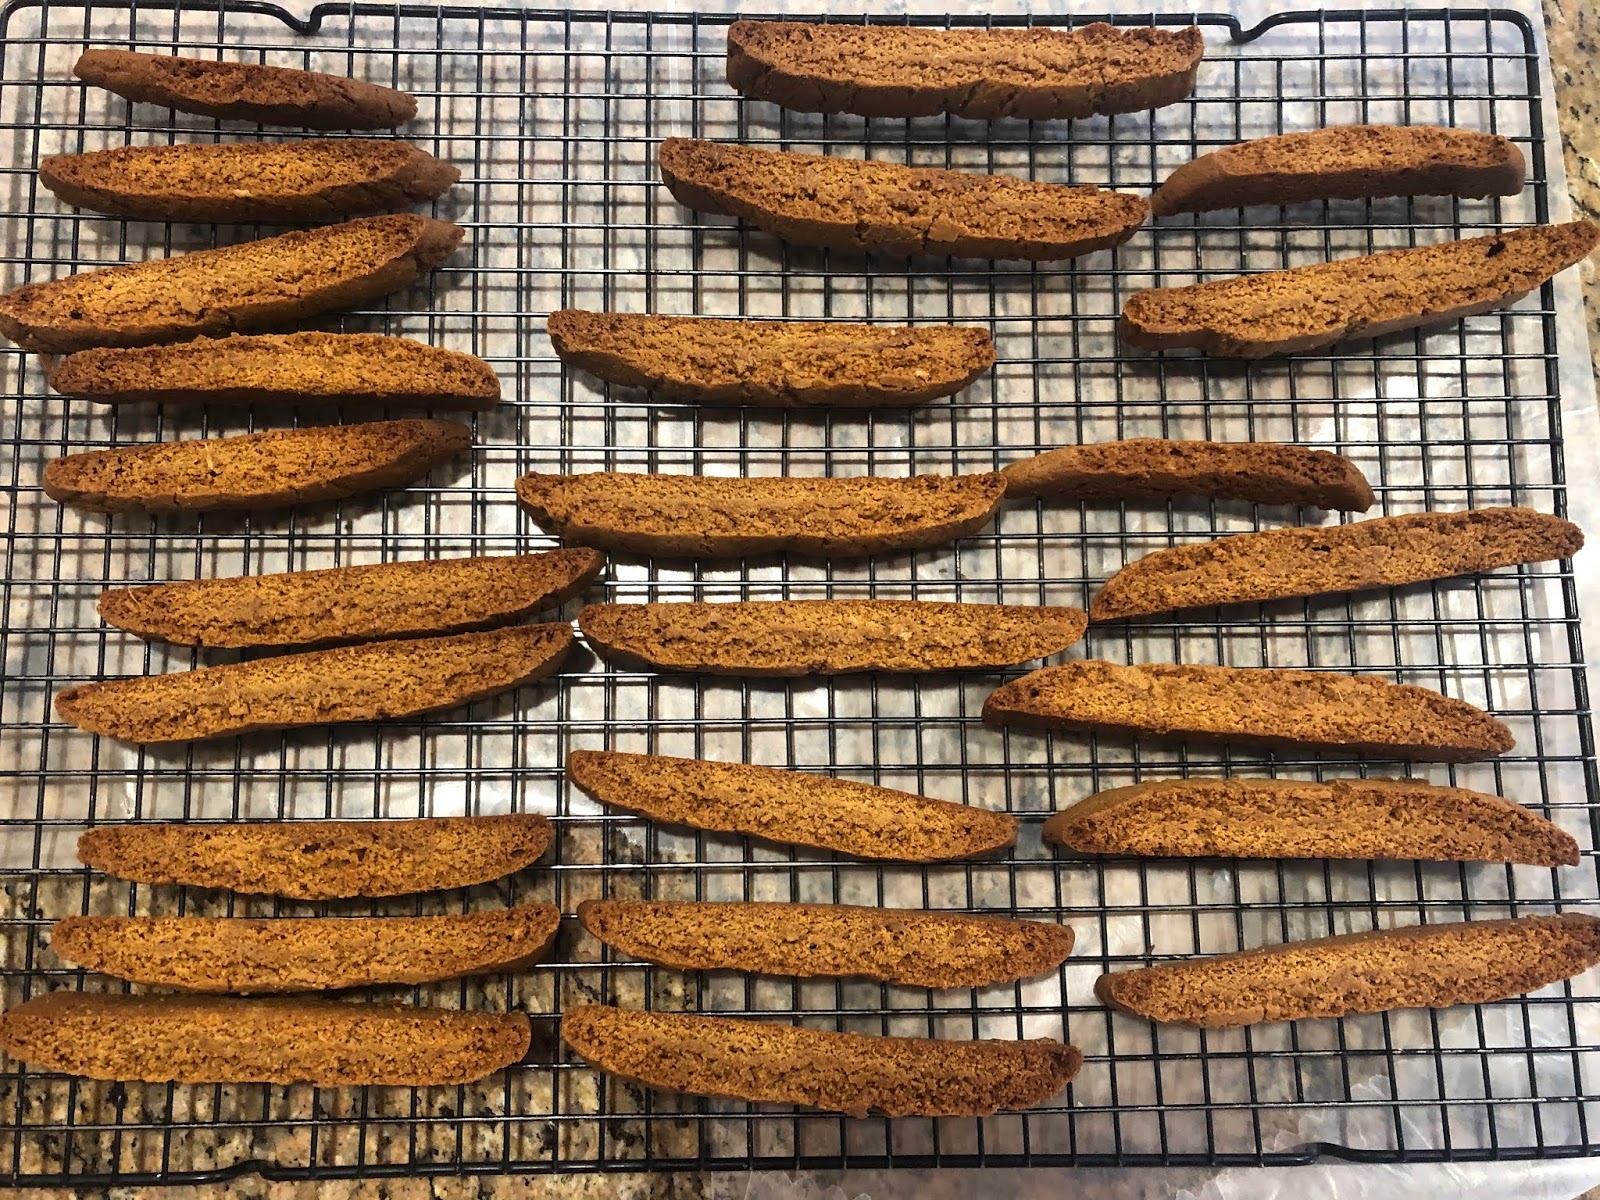
Reduce the oven heat to 325 degrees. With this lower temperature, your goal is going to be to dry out the biscotti. For the baking process, bake for about 9 minutes on the first side. Flip them over and bake for another 5-7 minutes or so. After each baking session, I will also hold my hand over the biscotti to get a little sense of the overall residual moisture content. You may need to repeat the flipping and baking another time or two. Here is a picture of the completed biscotti cooling on the wire rack after the drying process was complete.
For my second batch of biscotti, I stirred in some sliced almonds and divided the dough into quarters rather than in half to have smaller portions for the first bake. I still just placed two logs on each baking sheet during the first baking process. You can see how these were a bit narrower as they went into the oven for the first bake.

Here they are going in the oven for the second bake. You can see that most of these were baked through a little more thoroughly than the initial batch.

We elected to dip the bottoms of the smaller biscotti in white chocolate. The mechanics of doing the dipping using our chocolate dipping machine was easier with the smaller ones so that drove our decision. Here's a picture of our end results.

No comments:
Post a Comment