Monday, November 20, 2023

A half pound cake for the fall holiday season

Now that we are in the empty nest stage of life, learning to scale our cooking for two has become a bit of a challenge. We still maintain a philosophy of approaching cooking with a deliberate intent of generating leftovers. Just the same, it's still a bit of a challenge figuring out what will feed two people over 2 or 3 days compared with feeding five people for 2 days. 

Preparing desserts for two is also a challenge. We enjoy a nice dessert, but full size recipes result in far more than we need. About a year ago, I was delighted to find a half sized bundt cake pan at a local kitchen store. Pound cake is one of our favorite desserts (and breakfasts), so I was very quick to purchase it. Historically, pound cakes have included a pound of butter, a pound of eggs, pound of sugar, and a pound of flour. 

Fall is our favorite time of year, and we enjoy the tastes and flavors that go with fall, including cranberries and a little spice. A few weeks ago, I was looking for a fall-themed pound cake to try in our pan and came across this one. I've made it several times now, and it has quickly become a new favorite both as a dessert and a breakfast cake. The caramel, cranberry, and pecan flavors are ones that are great for kicking off the fall season and continuing on through Christmas.

Here's how to make this half pound cake. Please remember to double it if you are making a full-sized bundt cake.

Ingredients:

  • 1 cup of butter
  • 1.25 cups brown sugar
  • 3 eggs
  • 1.5 tsp vanilla
  • 1.5 cups flour
  • 1 tsp baking powder
  • 1/2 tsp cinnamon
  • 1/8 tsp salt
  • 1/8 tsp baking soda
  • 1/2 cup buttermilk
  • 1 cup chopped fresh cranberries
  • 1/2 cup chopped pecans
Steps:
  1. Cream together the butter and brown sugar until light and fluffy - about 4-5 minutes.
  2. Beat in the eggs one at a time, and beat in the vanilla.
  3. Mix in the dry ingredients, alternating with the buttermilk. When I make this cake, I typically mix in 1/2 cup of flour along with the baking powder, cinnamon, salt, and baking soda, then mix in 1/4 cup of buttermilk, then mix in another 1/2 cup of flour, the remaining 1/4 cup of buttermilk, and then 1/2 cup of flour.
  4. Stir in the chopped cranberries and then the chopped pecans. For each of these ingredients, I typically measure them and then use a small food processor for the chopping.
  5. Pour into a greased and floured bundt pan. One of the most anxiety-producing aspects of making a bundt cake is whether it will come out of the pan without sticking. Over the years, I've found success in melting Crisco in the microwave and then using a brush to "paint" the inside of the pan. The melted Crisco tends to resolidfy fairly quickly after being "painted" into the pan. I then flour the pan and check to make sure that the entire inside is well covered. If there are any unfloured spots, I add Crisco and re-flour that area. The picture above is what my pan typically looks like. The picture below is what the pan looks like after the batter has been added, and it is ready to go into the oven.
  6. Bake the cake in a 350 degree oven for about 55 minutes. Pound cakes can be a bit tricky because they are fairly dense and deep. The addition of the fresh cranberries results in some additional internal steam and moistness. I've found that 55 minutes tends to be about right. Of course, each oven is just a little different.
  7. Let the cake cool on a cooling rack for about 15 minutes. I typically set a timer. If I let the cake sit too long, it tends to adhere to the pan. If I flip it too soon, the weight of the lower portion of the cake can cause it to tear away from what will become the top.
  8. After 15 minutes, flip the pan over onto another cooling rack. Sometimes I will tap the sides of the pan with the end of a table knife. Breath a major sigh of relief if it comes out intact. Allow the cake to cool completely before you add the frosting.
Frosting ingredients:
  • 1/2 cup brown sugar
  • 1/4 cup butter
  • 2 tbsp milk
  • 1/2 cup powdered sugar
  • 1/2 tsp vanilla
Frosting instructions - wait to make the frosting until the cake has cooled because you want to put freshly made frosting over a completely cool cake so that it will set.
  1. Bring the brown sugar, butter, and milk to a boil on the stove, stirring constantly over medium heat. Allow the mixture to boil for about one minute and remove it from the heat.
  2. Whisk in the powdered sugar and vanilla. A kitchen whisk really is all you need to get the ingredients combined.
  3. Spoon the frosting over the cake. I use a gravy ladle to spoon the frosting over the top of the cake. This lets the frosting run down the sides of the cake and into the ridges.
Here's another look at the cake after it has been frosted. You can also add some coarsely chopped pecans for decoration:
Here is a slice that lets you see how the cranberries are dispersed within the cake.

Saturday, August 12, 2023

Hairy Coos and Haggis

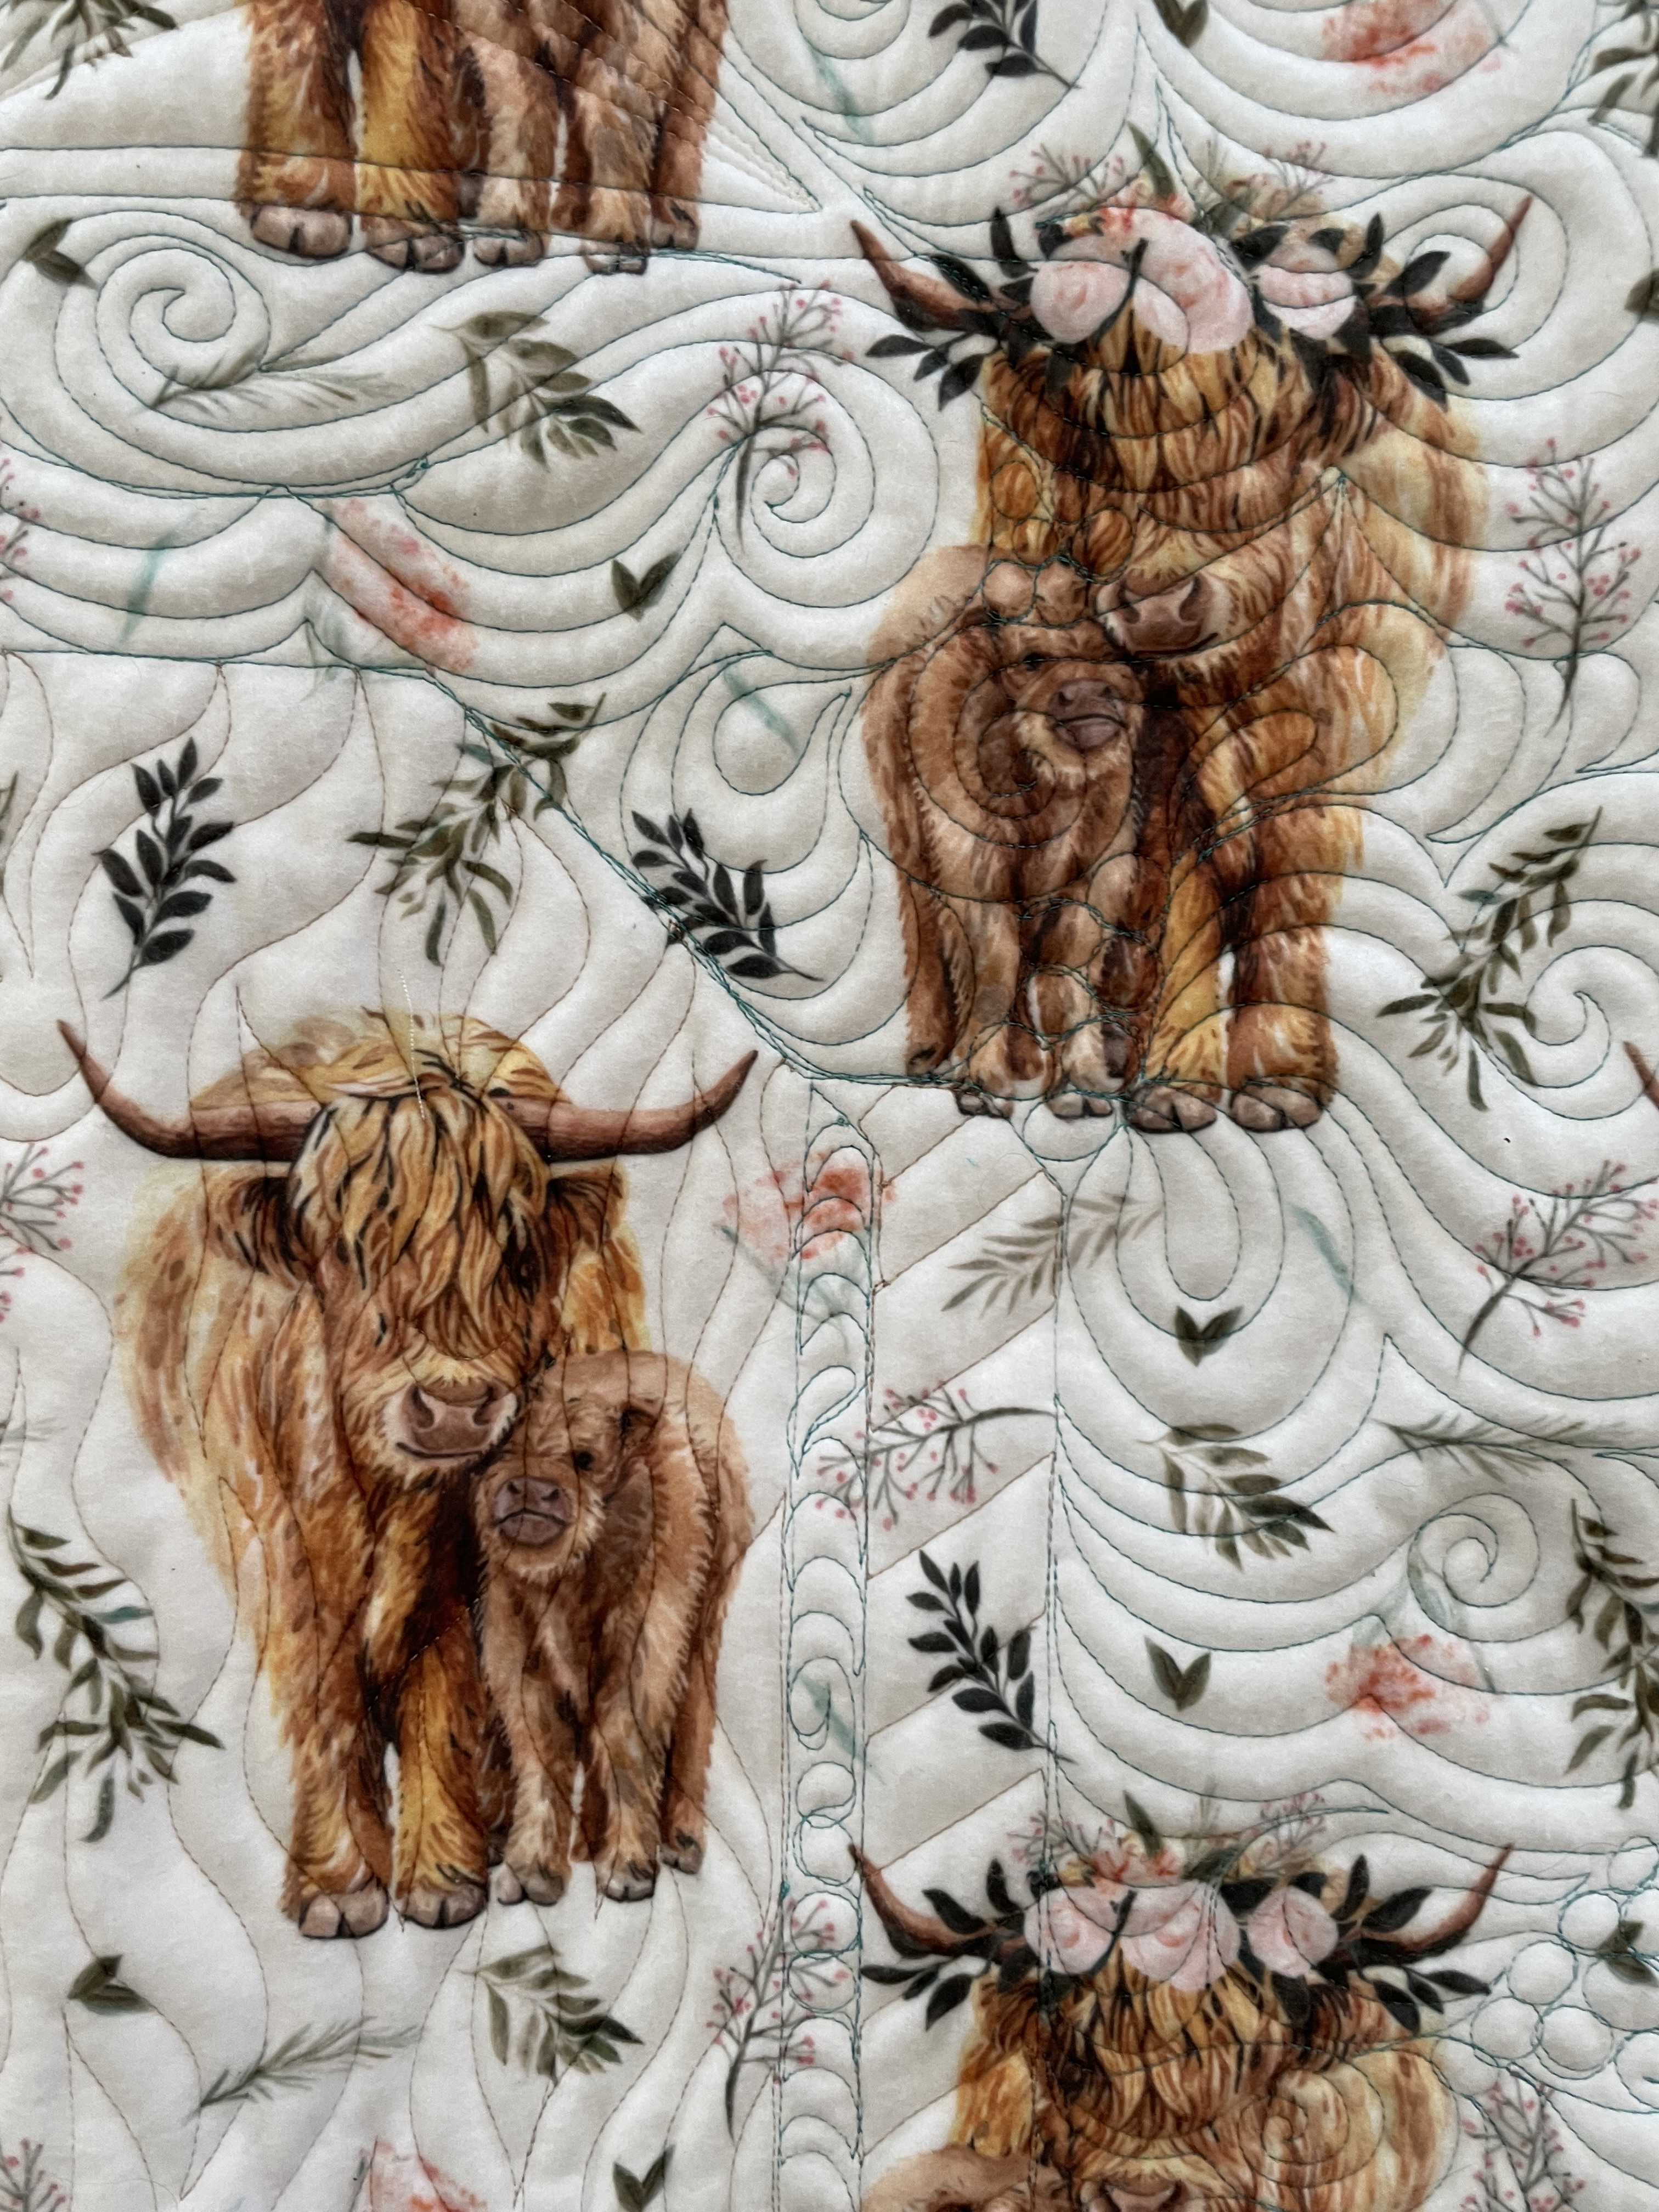
Over the past few years, my daughter has become somewhat enamored with Highland cows. When I saw a quilt featuring a Highland cow at last year's Box Elder County Fair, I did a Google search to identify the pattern. Fortunately, the pattern was reasonably easy to find, as was an accompanying kit. Despite the multiple pieces of various dimensions, the quilt went together much easier than I anticipated. With the help of a very skilled custom quilter, this quilt became my daughter's birthday present back in February.

To give you a sense of some of the unique sizes of the pieces in this quilt, here's a little close up look at the cow's face.


Here are a few other pictures highlighting the custom quilting work, courtesy of Darnit Dana's Quilting

I was even able to find some fleece for the backing featuring Highland cows. Here's a look.
Now, here are a few fun facts about Highland cows, or to be more correct, Highland cattle. 
  • Highland cattle originated in the Scottish Highlands and Outer Hebrides islands off the northwest coast of Scotland as early as the 6th century. 
  • Although the reddish coloring of Highland cattle is what we are most familiar with today, black coloring was originally the most common.
  • Highland cattle have a double coat of hair giving them their fluffy appearance aka "hairy coo."
  • Highland cattle can live up to 20 years.
About two months ago, I had the very good fortune to visit Scotland prior to a professional meeting in Dublin. Given that we had spent some time in Ireland seven years ago, my husband suggested spending some additional time in Scotland instead. Our day trip to the Highlands did include an opportunity to meet a hairy coo. Here I am feeding a potato to Honey. 
Before I bring this post to a close, here are a few comments about Scotland:
  • If you have the opportunity to visit Scotland, take it.
  • Edinburgh is absolutely beautiful and picturesque. Enjoy walking the Royal Mile and take the time to hike up to Arthur's seat.
  • Don't be afraid to try haggis.
Before we left on our trip, a neighbor who had spent considerable time in Scotland told us to be sure to try haggis, neeps, and tatties - aka haggis, mashed turnips, and potatoes. I will admit that I've been somewhat squeamish at trying a mixture of minced sheep organs mixed with oatmeal, suet, and onion prior to its being boiled in a sheep's stomach. Our neighbor told us that, to him, haggis reminded him of his grandmother's Thanksgiving stuffing. With that perspective, we gave it a try. To be honest, it really was pretty good. The sage and onion seasoning along with the texture really did make it reminiscent of Thanksgiving. Here's how our haggis, neeps, and tatties were served at Deacon Brodie's Tavern. Deacon Brodie was quite a colorful character in Edinburgh history, but that is another story for another day.
Whether learning about interesting animals or visiting new places, I find our world a fascinating place. I will leave you with this perspective from King David.
The earth is the LORD's, and all it contains,
The world and those who live in it. Psalm 24:1 

Saturday, June 3, 2023

Strawberry Rhubarb Jam

As it turns out, my last cooking-type post had to do with strawberries and rhubarb. Now, about 10.5 months later, I have another strawberry and rhubarb recipe to share. 

Despite our extended winter, some of the early garden plants are growing nicely, including my rhubarb plant. We had some nice weekend weather which provided a good opportunity to get out, do some weeding and harvest most of the stalks that had emerged on my plant. Because the plant was already sending out some flowering stalks, I wanted to get it cut back to stimulate growth of more edible stalks. Also, i was eager to make the first pie of the season. Given the large quantity of stalks that were ready for harvest, I decided to go ahead and make a batch of jam. We were already buying strawberries so I had my husband get the extra large container of them from the store.

Before I proceed to the recipe, here's a little breakdown of the differences between jellies, jams,, and preserves:

Jellies are made from fruit juice which is typically extracted from cooked, crushed fruit. The process of making jelly involves straining the cooked fruit through some type of very fine sieve or fine mesh fabric. The resulting juice is then cooked with sugar, and sometimes pectin, to create a firm texture.

Jams are made from chopped fruit that is cooked down with sugar and often pectin. Jams are looser in texture than jellies and are more spoonable and spreadable.

Preserves contain larger pieces of fruit, or even whole fruit. Cherry or strawberry preserves often contain whole fruit. The syrup in which the fruit is held together may be more like a syrup or more like a jam.

A quick word about pectin. Pectin is a soluble fiber that is found in fruit. it is used as a thickener in jams and jellies. You can buy it in boxes or in a jar. Given that the amount of jam that I make at a time can vary greatly based on the fruit that I have on hand, I've come to prefer just having a jar on hand from which I can spoon out the given amount that I want. One 2-ounce box of pectin contains approximately 3.5 tablespoons of pectin.

The amounts listed below will make approximately five 1/2 pint jars. I will add some comments below the recipe regarding our preferences and ways that you can introduce your own style.

Strawberry Rhubarb Jam

  • 4 cups of chopped rhubarb
  • 4 cups of chopped strawberries
  • 4 tablespoons of pectin
  • 1 tablespoon of lemon juice
  • 2 cups of sugar
Stir all ingredients together and bring to a boil on the stove. Cook until mixture is slightly thickened and the fruit is cooked to your satisfaction. Here is what mine looked like when I was finished.
A few considerations regarding fruit and sugar ratio:
Remember that rhubarb is tart and strawberries are sweet. I like using equal ratios in my jam. I've seen some recipes that use a greater strawberry-to-rhubarb ratio. Feel free to start with smaller quantities of fruit and then figure out what you like.
We tend to like the tartness in the strawberry-rhubarb mixture. As such, we limit our sugar to 2 cups. You could always increase the amount of sugar. Consider trying an initial batch with smaller quantities such as 1 cup each of the two fruits and 1/2 cup of sugar and then adjust from there before proceeding with a larger batch.

Processing the jam:
Ladle hot jam into prepared jars and process in a boiling water bath canner. The standard processing time for sea level is about 15 minutes. Because I live at a higher elevation, I process for 25 minutes.
For guidance on processing, I recommend consulting the Ball Blue Book for canning. You can see that my copy is pretty beat up, but it's my "go to" source. You can see from the picture at the top of the post that I used both half-pint jars and smaller half-cup jars. At the end of the day, the choice is yours. I tend not to use pint jars much for jams anymore because we just don't go through it fast enough now that there are only two of us in the house.
Enjoy your jam on toast, scones, biscuits, or anything else you like!

Sunday, April 30, 2023

A Long Winter (of the soul) …

I'm realizing that it's been over a year since I last shared a sewing project. Even though I've found myself with less time for non-work-related projects of any kind, I have completed a few. The one I'm sharing in this post is somewhat symbolic of the past 5 months as well as the past three years. 
Those of you who are fans of Laura Ingalls Wilder's Little House series will recall that the 6th book in the series is titled The Long Winter. This book details her family's experiences of living in the small homesteading town of DeSmet, South Dakota, during the winter of 1880-81. This winter began in mid-October with a series of storms that persisted into the early spring months. The book concludes with the long-awaited arrival of a train in late April, bring much needed supplies and food.
Here in northern Utah, we have just concluded one of our longest winters. It began in somewhat typical fashion with snowfall in early November. What occurred in atypical fashion, however, is that this early snow did not completely melt prior to the onset of more substantial snow several weeks later. Throughout the winter, this early November snow remained buried in our yard. This winter result in many broken records related to snowfall and water. Most notably, one of our ski resorts received over 900 inches of snow. Just as we thought we were on the brink of having the snow melt away for the season, we received several more feet in the valley during the first week of April. Here's some of the local evidence.
The persistent snow has also resulted in an extremely delayed spring. The final patch of snow in our backyard melted away only this past week on April 27. Additionally, the persistent snow and cold temperatures have delayed the emergence of the spring flowers and leaves. In many ways, this has resulted in a sense of disconnect between the date on the calendar and the views outside. This Friday, however, patches of early spring green began to appear on the hillside behind our house amidst the residual patches of snow. Just today, blossoms began appearing on our flowering tree in the front yard.

In some ways, these past three years have also been a bit of a long winter of the soul. The convergence of the pandemic, politics, and consequences of patriarchy in my larger faith community have taken their toll. I was unprepared for the unexpected magnitude of what these years would reveal. These years have also brought a series of additional losses and challenges, not all of which were directly related to the above named three Ps.
So, just what does all of the above have to do with a wool applique project? I bought this project in early 2022 for a few reasons: 1) During January, I like to have blue winter-themed decor out and about to take away the empty feeling after the Christmas decorations come down; 2) I loved the design itself with the church in the winter snow and the bluejay on the fence; and 3) the verse itself is one that resonated with me. Through world and national disruptions, through seasons of loss and heartache, God does, indeed, guide us always and is faithful.
These past three years have brought to light just how crucial it is to be grounded in and guided by God's Word and not by those who would assume to be "leaders." To be clear, I don't consider myself to be a "deconstructor." If anything, I think of my own "long winter" of being more akin to Hebrews 12:1 and putting off obstacles that entangle to be able to run with endurance the race set before me.
And the LORD will continually guide you, and satisfy your desire in scorched places, and give strength to your bones; and you will be like a watered garden, and like a spring of water whose waters do not fail. Isaiah 58:11 (NASB)


Sunday, July 24, 2022

Strawberry Rhubarb Pie (for two) to Celebrate Two Utah Holidays

I hope that summer is treating you well. Here in Utah, we've had an unusually hot and dry summer. Just the same, the blooming Rose of Sharon bushes as well as the onslaught of zucchini in the garden serve as reminders that we are now on the downhill side of summer. This is also the time of year where the days become palpably shorter - the sun takes longer to come up in the morning and then sunset is noticeably earlier than just a few weeks ago. 

These changes in the summer season also coincide with our Utah state holiday, also known as Pioneer Day. For those of you who are less familiar with Utah and our local quirks, July 24 is the day that the Mormon pioneers arrived in the Salt Lake Valley in 1847. Their leader, Brigham Young, declared, "This is the place."

During my early growing up years, I was quite the connoisseur of pioneer stories of any kind. I have memories of teaching myself to read silently while reading Little House in the Big Woods. I had begun by reading it out loud (seemed logical to my 5- or 6-year-old self at the time); however, I think my mother quickly tired of listening to me and asked, "Can't you just read to yourself?" I remember taking the time to figure out the process, and ultimately managed to finish the book. At any rate, my love of pioneer stories translated into thinking that it was pretty neat that we had a Pioneer Day holiday. I even have memories of watching the big parade in Salt Lake City on our 13-inch black-and-white television set and dressing up in pioneer costumes.

So why the pie? On the one hand, it might seem idyllic to think about a homemade treat for a day celebrating the state's pioneer heritage. Around 15 years ago, some groups decided that if one says Pioneer Day really fast, it sort of sounds like Pie N' Beer Day. Some of the local breweries have turned it into a bit of an event. Others of us, who really don't care for anything stronger than root beer anyway, are happy to enjoy a little cheeky fun and enjoy some pie.

So why rhubarb? Because, plain and simple, I have an abundance in the garden right now. Even with giving much away, I still have plenty. It's been a while since I made a strawberry rhubarb pie, so I thought it would be fun to make one; and, I like making pie. My current challenge is that there are now just the two of us at home, so making a large pie becomes rather impractical. Fortunately, I have a 7-inch pie pan that is a great size for a pie that will allow us to enjoy dessert over 3 to 4 nights. If I'm making a pie in this pan, I will typically cut the recipe for the filling in half. I haven't done the calculations; however, practical experience tells me I'm not too far off.

Rhubarb actually is a vegetable that is used as a fruit due to its sweet/sour taste. It was first described in China over 1,800 years ago and made its way to Europe via the Silk Road. Its root was initially used for medicinal purposes. It wouldn't be until the the 18th century or so that its stalks were used more widely for culinary purposes. Apparently, several species of rhubarb exist and may be more predominantly green or red. Here's a picture of the single plant I have in my garden. Note that it's been recently rather heavily harvested.

With that, let's get on to making a strawberry rhubarb pie for two.

1 recipe for a double-crust 9-inch pie crust. (It's just easier for me to make the amount for a double-crust 9-inch pie than to do more math. That way if you end up with a little more filling than your 7-inch pan can hold, you can always make an even smaller extra pie.) I just go to the Betty Crocker cookbook for my stand-by pie crust recipe.

Filling ingredients

  • 1 1/4 cup chopped rhubarb (Take a look at the pictures below to see how I chopped up my rhubarb. I opted for smaller pieces.)
  • 1 1/4 cup chopped strawberries
  • 1/2 cup sugar
  • 1.5 tbsp tapioca flour
  • 1/2 tbsp all-purpose flour
  • 1-2 tbsp butter
Directions
  • Stir the rhubarb, strawberries, sugar, tapioca flour, and all-purpose flour together. Here's what it will look like. The stalks on my rhubarb plant are more green than red so they look a bit like chopped celery.

  • Roll out the bottom portion of the pie crust, place it in the pie pan, and spoon in the filling. This recipe made just the right amount for the 7-inch pan.
  • Dot the filling with a few chunks of butter.
  • Roll out the top crust place it over the filling and crimp the edges. (You will see in the photo below that my crust didn't stay in one piece so it's a little pieced together. Artistry is not my strength, but I usually can make food that will taste good.)
  • Poke some holes in the top for ventilation and sprinkle with sugar. (If you like, you can brush the top with egg wash. I prefer to just leave the crust as is.)
  • Lightly cover the outer circumference with foil and bake for 15 minutes at 425ºF. Remove the foil and bake for another 30 minutes or so until the crust is lightly browned and the juices are starting to bubble through the vent holes.
  • Here it is out of the oven. As you can see, the patching didn't totally hold, but you can see how the crust is browned and the filling is bubbling up.

Whether you celebrate Pioneer Day or Pie N' Beer Day or just like pie, enjoy giving this recipe a try, and please let me know if you would like some rhubarb! Here it is served with some vanilla ice cream.

Thursday, April 14, 2022

Hot Cross Buns

While many of us first learned of hot cross buns through the nursery rhyme, "One a penny, two a penny, hot cross buns," hot cross buns actually are associated with the Easter season, specifically Good Friday. In essence, hot cross buns are rolls made with an enriched dough and flavored with spices and fruit. They are marked with a cross to commemorate Jesus' crucifixion.

Hot cross buns are said to have originated in England. The first definitive reference to hot cross buns is in 1733 when they were referenced in Poor Robin's Almanac. Recipes for a precursor to today's hot cross bun are said to have originated centuries earlier in the 1300s when a monk from St. Alban's abbey created a recipe for St. Alban's buns which were given to the poor on Good Friday. 

Regardless of their origins, hot cross buns are rather tasty and really can be eaten any time of year. As I mentioned earlier, they are made with an enriched dough. An enriched dough is one that includes milk, butter, and eggs. Given that milk and eggs were typically avoided during the Lenten season, it's not too surprising that a food that marks the close of Lent would include these ingredients. Hot cross buns include more sugar than a typical roll recipe, and they also include spices such as cinnamon or nutmeg along with fruit which may include chopped apples, raisins, or currants as well as some grated orange peel. The spices are said to commemorate the spices that would have been used to prepare Jesus' body for burial, and the orange peel is said to symbolize the bitterness of His suffering on the cross.

The recipe that I'm sharing is derived from Paul Hollywood's (yes, from the British Baking Show). I've made some modifications to his directions, changed the measurements to traditional US-based measures, and made some minor adjustments to the ingredients.

Ingredients:

  • 1 1/4 cup milk
  • 1/4 cup butter
  • 1/3 cup sugar
  • 3-4 cups flour (see instructions regarding how to add in the flour)
  • 1 packet yeast (2 1/4 tsp)
  • 1 tsp salt
  • 1 beaten egg
  • 1 tsp cinnamon
  • 1 cup raisins
  • 1 apple, finely chopped
  • zest of one orange
Paste of flour and water to mark the crosses on the buns
Apricot jam to use for the glaze on top of the buns

Directions:
  • Heat the milk and butter together over medium heat until the milk starts to come to a simmer. Remove from heat and allow the milk to cool to about 105 to 110 degrees Fahrenheit.
  • While the milk is cooling, use the time to chop up the apple and zest the orange. Here is a picture of how finely I like to chop up my apples.
  • Pour the milk and melted butter into the mixing bowl and whisk in the yeast and about 1-2 tsp of the sugar. I like to let the mixture set for about 5 minutes to make sure that the yeast will bloom.
  • Mix in about 2 cups of flour, the remaining sugar, salt, egg, and cinnamon. I'm one who likes to add in the flour somewhat gradually. I like to keep my enriched doughs a little on the sticky side to keep the resulting rolls from becoming too dry. Chances are you will be using close to about 3 1/2 cups of flour if not a little more. Just the same, start with about half and then add additional flour about 1/2 cup at a time.
  • Stir in the fruit and orange zest. This will add a little more liquid to the dough so you may very well end up using about 4 cups of flour total. If you are using a stand mixer, you can use the dough hook to get the fruit and orange zest well combined in the dough. Once the dough has been well-kneaded, place in a well-oiled bowl, cover with a towel and allow to rise for about 1 hour or until it is doubled in size. I like to use the "proof" setting on my oven. I don't know that it makes things faster but it does provide a controlled environment.
  • After the dough has risen, divide it into twelve equal pieces. I like using a food scale to weigh out the dough to help ensure that the rolls are as close to uniform in size as possible. You don't have to get that scientific in your approach. I've also found it helps to ensure that all rolls rise evenly and bake uniformly. Here they are all divided out. I like using a silicone sheet on the bottom of my baking pan.
  • After the rolls have risen, make a paste with with flour and water and pipe the crosses on the tops of the rolls. It doesn't have to be exceedingly thick, and you also don't want it so thin that it just drips off the rolls. Here is my most recent effort.
  • Bake at 375 degrees Fahrenheit for about 20 to 25 minutes. You can see that when the buns come out of the oven, the cross will have somewhat faded into the bun itself.
  • After the buns have cooled a little, heat up the apricot jam to brush over the tops of the rolls to give them a sticky shine and make the cross stand out. You are welcome to sieve the jam to remove some of the chunky pieces. I just heat the jam in the microwave oven and brush everything over the tops.
  • Because the buns include fruit and sugar, I tend to store them in the refrigerator and then warm them a little before serving.
  • I'm also thinking of trying out some variations on these buns in the fall and around Christmas time. Stay tuned for some variations that may feature dried cranberries and pecans. In the meantime, have a blessed Easter!

Tuesday, March 1, 2022

Jambalaya for a Mardi Gras dinner and a few reflections on the 2022 season of Lent

This past week certainly has felt anything but celebratory, but here we are at Mardi Gras with Lent beginning tomorrow. While I'm not really one to get into the idea of getting all of one's indulgences in before a season of self-denial, I do enjoy good New Orleans food regardless of the season. Mardi Gras gives occasion to be intentional with foods that have taken on a distinctive North American style. Whether or not your denomination formally observes Lent, this year's season leading up to Easter seems a particularly appropriate time for humility, self-reflection, repentance, and praying for the welfare of others. I will share links to some resources at the close of this post.

For now, let's learn a little about the history of jambalaya. Like many New Orleans-style dishes, jambalaya represents a blending of French, African, and Spanish influences. In its simplest sense, jambalaya is meat and vegetables cooked together with rice. A recipe for jambalaya first appeared in spring in 1878 when it appeared in the Gulf City Cook Book published by the ladies of the St. Francis Street Methodist Episcopal Church in South Mobile, Alabama. Given its simplicity and flexibility, jambalaya had a brief surge in popularity during the 1920s and 1930s.

Jambalaya typically includes the Creole trinity of onions, celery, and bell peppers; rice; tomatoes; and meat. The meat can vary but is typically chicken, sausage, and shrimp in any combination or singly.

When making jambalaya from scratch, rather than from a Zatarain's mix (which is still pretty good), I've had the best luck using parboiled rice. Parboiled rice is also known as converted rice and refers to rice that has been partially boiled while still in its husk. Parboiling preserves some of the micronutrients in the rice. Most important for jambalaya, parboiled rice is firmer and holds its shape. I also tend to use parboiled rice in soups when I need the rice to hold its shape over time.

Here's how we prepared our jambalaya:

  • 1 lb boneless, skinless chicken breasts (Note: You can use bone-in chicken, too you will just need to do the work of removing the meat from the bones. We have also used smoked turkey that we had on hand. If the poultry has already been cooked, you will just need to use prepared broth.)
  • Cooking oil
  • 1/2 lb smoked sausage, cut into rounds (We use 2 links of Aidells cajun style andouille)
  • 2 cups chopped onion
  • 1/2 cup chopped bell pepper - feel free to use a little more if you like
  • 1/2 cup chopped celery
  • 2 tsp minced garlic
  • 1 quart jar of home canned tomatoes (We use the entire jar - juice and all. You could substitute a 30-ounce can.)
  • 1/2 tsp white pepper
  • 1/2 tsp black pepper
  • 1/4 tsp cayenne pepper
  • 1 tsp salt (if using prepared broth, you may need less)
  • 1 1/2 cups parboiled rice
  • 1 1/2 cups chicken stock (from cooking the chicken)
Steps:
1. Cover the chicken with approximately 2-3 cups of water. Simmer until cooked through. Reserve the stock to use for later. Cut the chicken into bite-size pieces and set aside.
2. Heat the oil in a heavy-bottomed Dutch oven. We like using our LeCreuset Dutch oven. Sauce the sausage until lightly browned and it slightly sticks to the bottom of the pan. Remove and set aside.
3. Saute the chopped onion, bell pepper, and celery until tender. You may need to add a little oil. It's okay if they stick to the bottom of the pan a little. This is what helps with the flavor.
4. Stir in the tomatoes, garlic, salt, and the 3 types of pepper. Cook for about 10 minutes, scraping the bottom of the pot.
5. Stir in the rice and mix well
6. Stir in 1 1/2 cups chicken stock, the chicken, and the sausage. Bring to a boil, and then reduce to a simmer. Cook uncovered for 20 minutes, stirring occasionally.
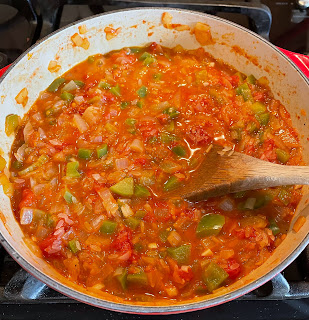
7. Turn off the heat, cover the pot, and allow any excess liquid to absorb. The picture below shows that ours still had a bit of liquid after the 20-minute cooking period. Covering the pot and letting it sit for a while got it looking like the picture at the top of the post. Stir, add additional seasonings as desired, and enjoy!
So now, back to the season of Lent. While my denomination doesn't formally observe Lent in the tradition of those that follow the liturgical calendar, I value a time to prepare for the remembrance of Jesus' death and resurrection. The following sites provide links to devotions that you may find meaningful during the Lent season as well as this time of global unrest:
For those of you who may wish to pray for the the people of Ukraine as part of your daily devotional time, here is a link to a prayer guide with specific requests.