Since last year's pi day entry featured a sweet pie, I thought I would feature a savory pie or two for this year. Although most people don't always think of British cuisine in a favorable light, some British recipes can actually be quite flavorful. While I don't think I'm up to trying steak and kidney pie in the near future, here are a couple of British-style meat pies that my family gladly endorses. I made these pies a couple of weeks ago for a downstairs-style dinner to celebrate the close of Downton Abbey Season 5.
Pies supposedly date back to ancient Egypt with the outer crust made of some type of grain such as oat, wheat, rye, or barley and filled with honey. Later the Greeks and Romans would add varieties of meat within the pastry filling. Ultimately, pies spread across Europe. In some variations, the thick pastry crust had a more functional purpose, serving as a pan for the pie contents. The actual term "pie" was first referenced in the 1300s.
Traditional British pies are made of stewed steak and gravy, although other meats may be used. Meat pies are traditionally served with "steak chips," thickly sliced fried potatoes - what we in the US describe as "steak fries."
I elected to try a couple of different meat pie recipes and will share them with you here.
The first is a chicken and leek pie. The quantities in this recipe will make a traditional 9-inch pie.
Chicken and Leek Pie
Start by making a white sauce with:
- 2 tbsp butter
- 2 tbsp flour
- 1 cup of milk
- 1 tsp powdered mustard
- 1 tsp chicken bullion
Melt the butter in a small saucepan and stir in the flour. Cook for a minute or two, stirring constantly to prevent burning. Add in the milk. Use a wire whisk to break up any lumps. Stir constantly and bring to a boil to allow the mixture to thicken. Stir in the mustard and chicken bullion. Remove from heat and set aside.
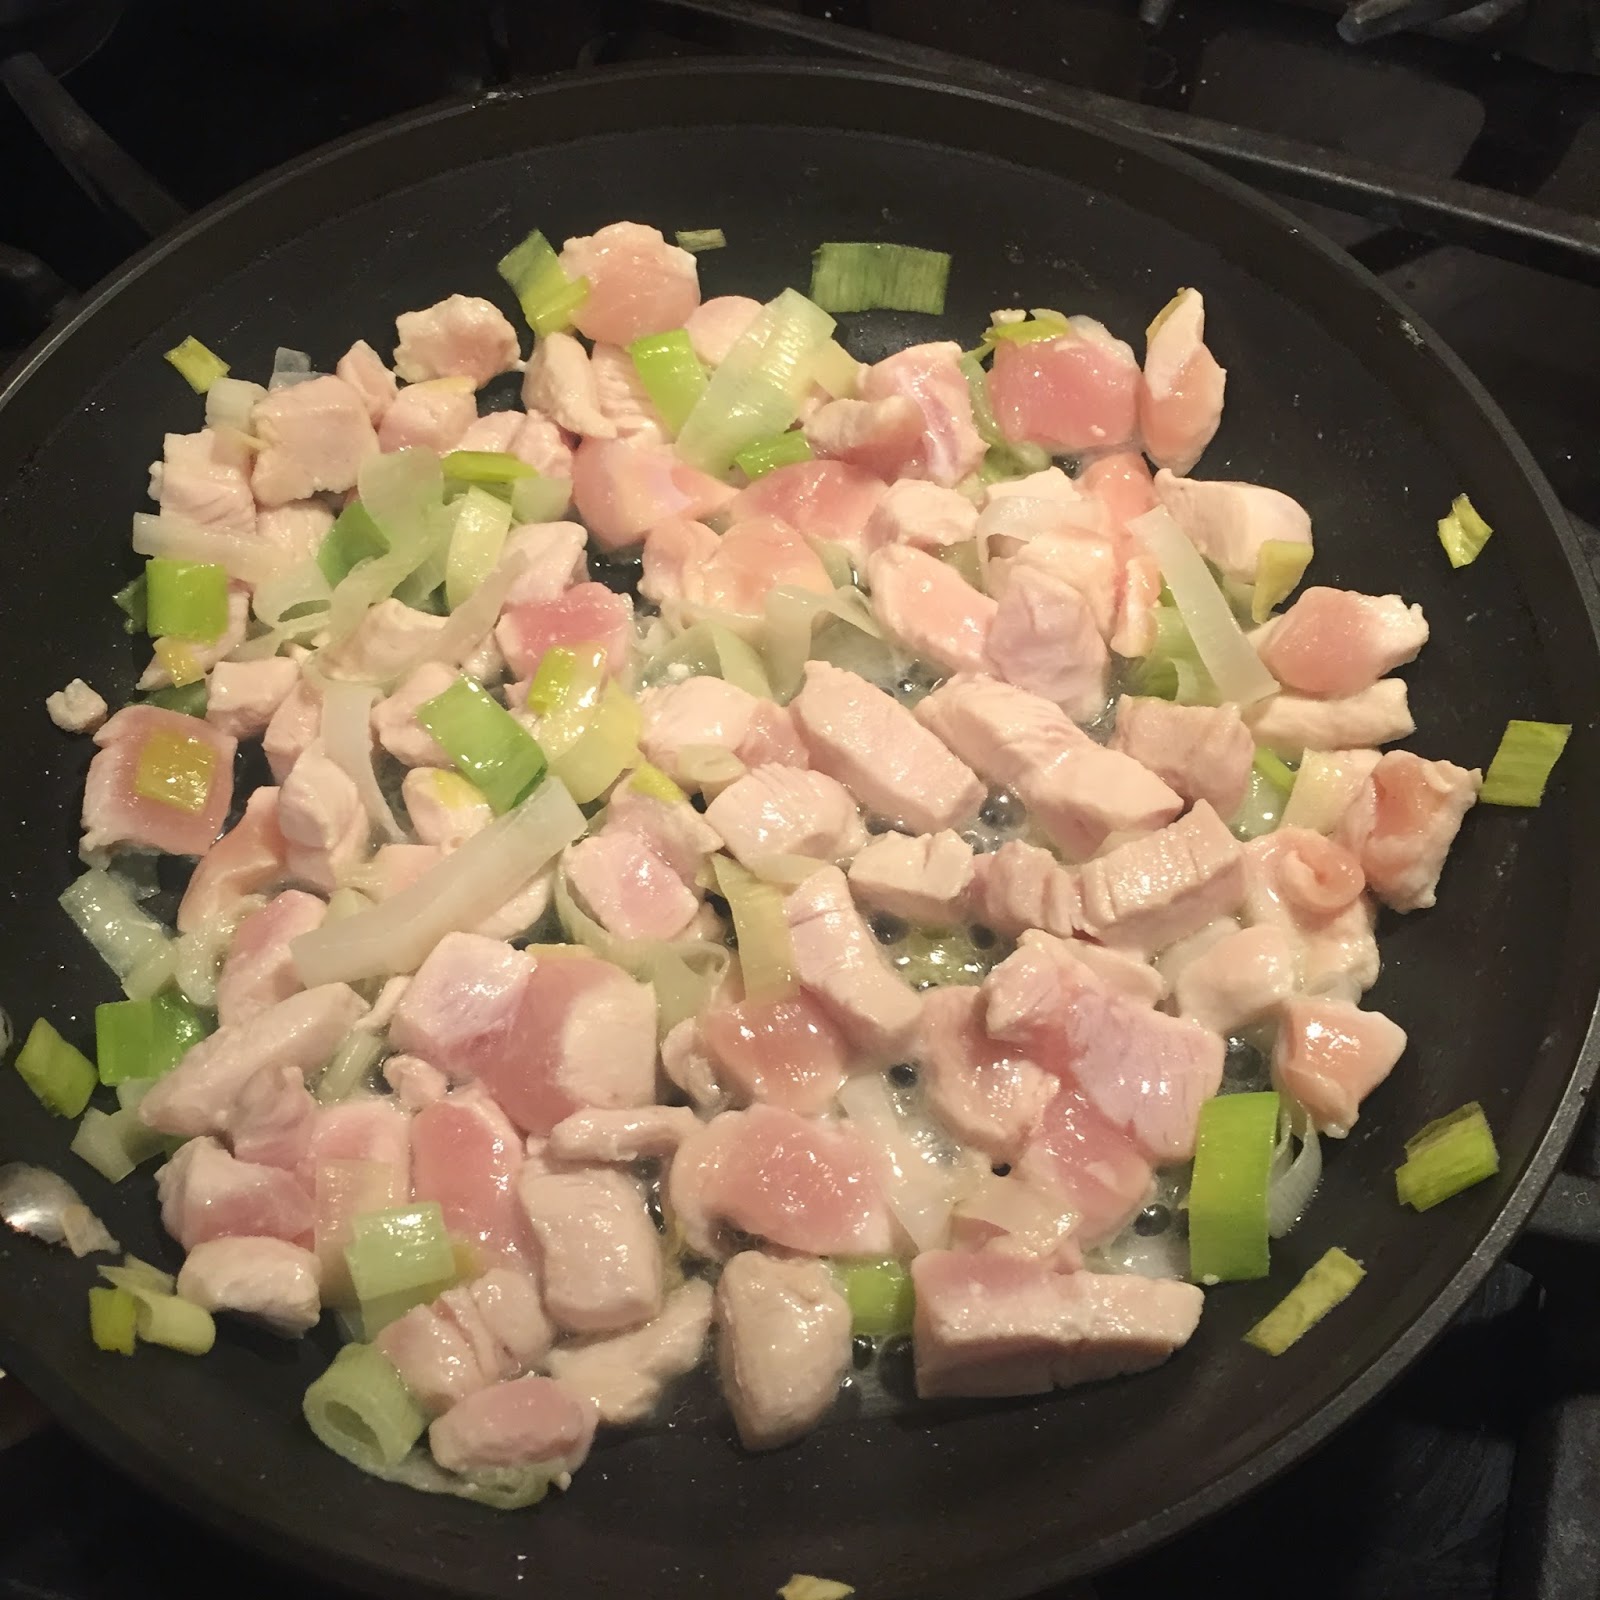
Prepare the filling with:
- 2 tbsp butter
- 1 large leek, sliced into thick rings
- 1 lb boneless, skinless chicken breasts
- Salt and pepper to taste
Melt the butter in a skillet. Stir in the leeks and sauté until softened. Stir in the chicken and cook thoroughly. Add salt and pepper as desired to taste.
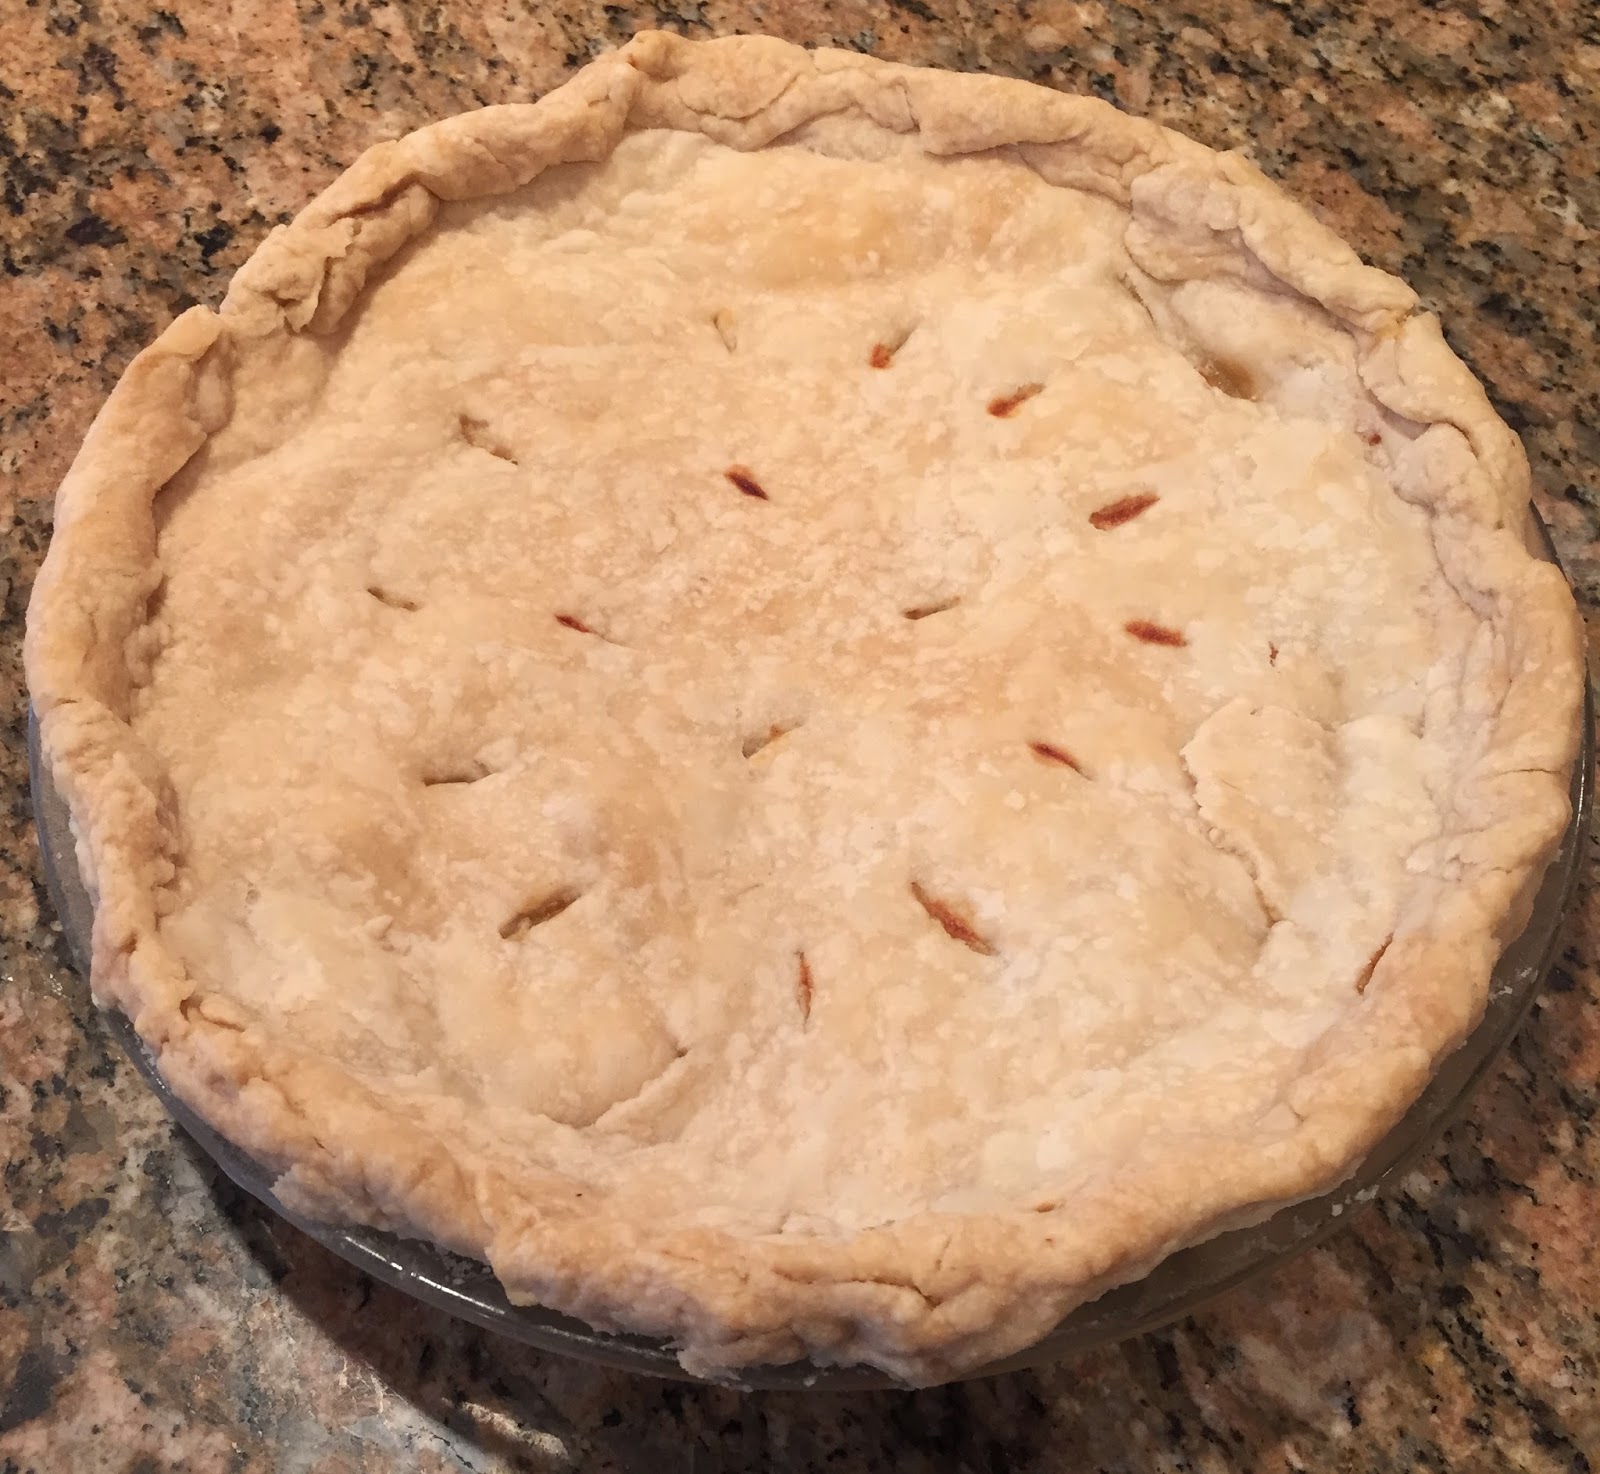
Remove from heat and stir in the white sauce. Pour into a prepared pastry shell. Cover with pastry, seal edges, and cut slits in the top. Bake at 350 degrees until crust is a golden brown and filling begins to bubble through the slits, approximately 45 minutes.
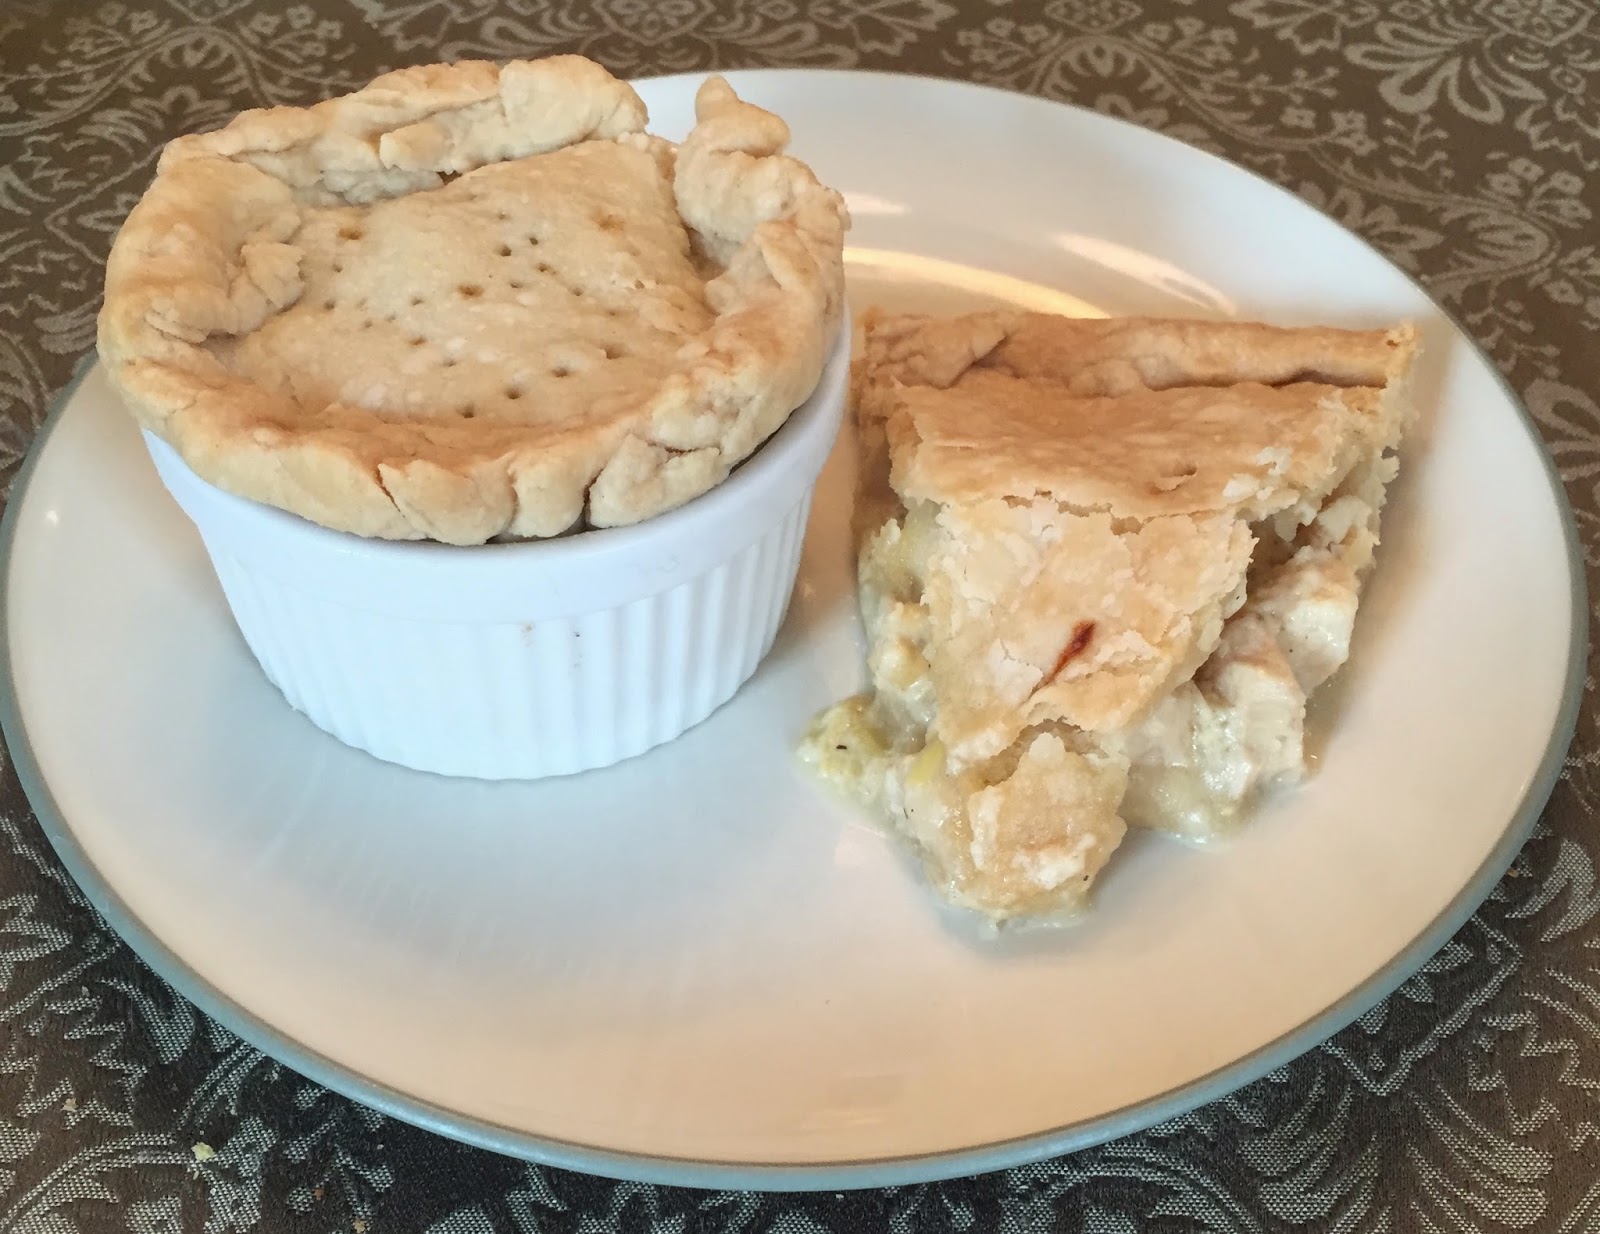
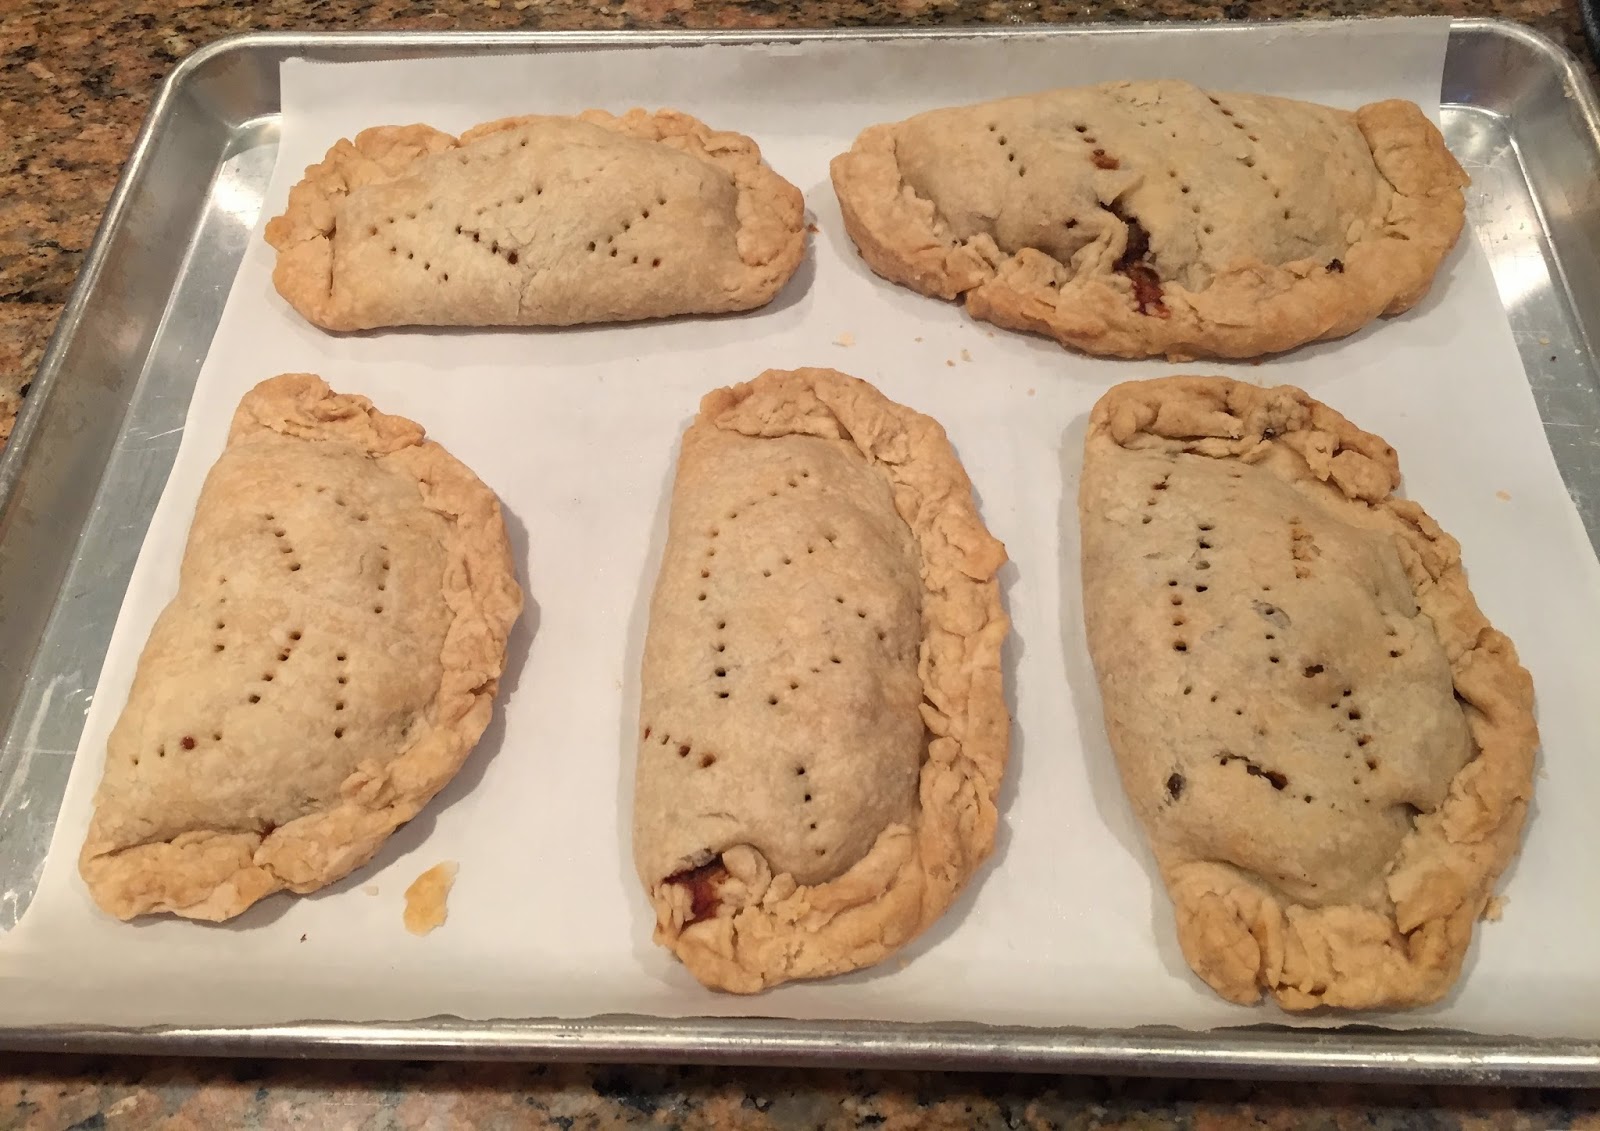
Here is the recipe for meat pie featuring ground beef. I put this one together based on a combination of several recipes that I had found online. This recipe would also most likely fit a typical 9-inch pie pan. I elected to divide the filling into ramekins (see picture at the top of this blog post) and some "hot pocket"-style hand pies. Here is the list of ingredients:
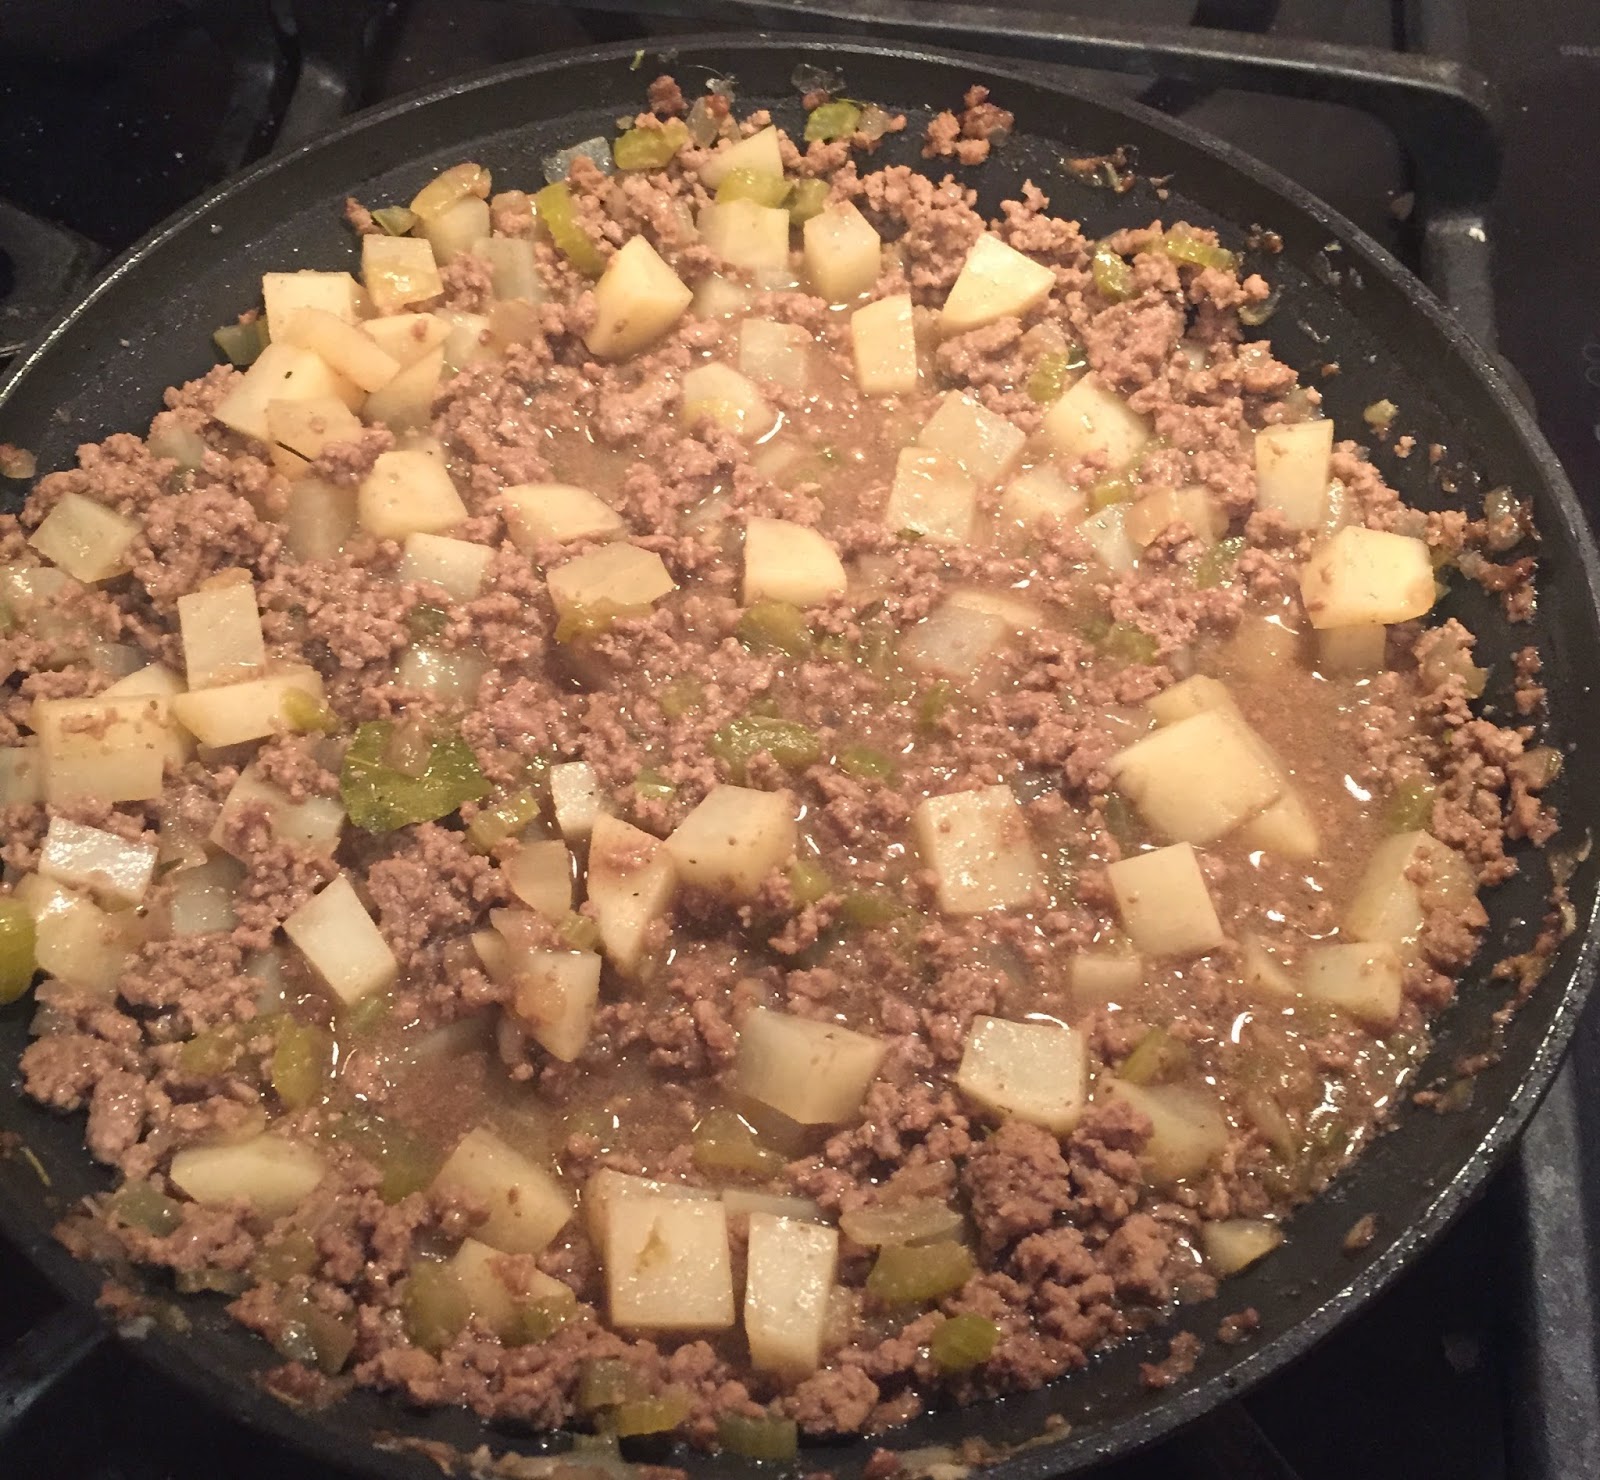
- 2 tbsp butter
- 1 cup chopped onion
- 1 cup chopped celery
- 1 lb ground beef
- 1/4 tsp thyme
- Salt and pepper to taste
- 1 cup beef broth
- 2 medium potatoes, chopped
Melt the butter in a skillet and stir in the onion and celery. Sauté until the vegetables begin to soften. Add in the ground beef and cook thoroughly. Stir in the seasoning. Stir in the beef broth gradually. Note: if you have leftover beef gravy on hand, you could substitute it for the broth or use a gravy/broth combination. You may also wish to stir in some additional beef base or Kitchen Bouquet to season to taste. Once the ground beef has cooked, add in the chopped potatoes. Cook until the potatoes begin to soften. Pour the filling into a prepared pie pastry, top with pastry, seal, and cut slits in the top. As with the other pie, bake at 350 degrees until crust is a golden brown and filling begins to bubble through the slits, approximately 45 minutes.
The following picture is of the smaller "hot pocket"-style pies that I made with this filling.
Here is a recipe for 2-crust pie pastry for a 9-inch pie. This is the pie crust recipe from the Betty Crocker cookbook that I have been using as long as I can remember. I really don't mind the work of rolling it out because it tastes so good. Some hints to help you out with pie crust: chill the shortening in the freezer an hour or two before you make the crust and be sure to use cold water.
- 2/3 cup plus 2 tablespoons shortening
- 2 cups flour
- 1 teaspoon salt
- 4 to 5 tablespoons cold water
Stir together the flour and salt. Use a pastry cutter to cut the shortening into the flour and salt mixture until the particles are about the size of small peas.
Sprinkle in the water about a tablespoon at a time, stirring the mixture with a fork until all ingredients are blended and stick together. Do not overhand the pastry dough, or the crust will be tough.
Roll the pastry out on a floured surface until it meets the dimensions of the pie pan (or is the desired size for a pocket pie). Fold it into fourths to aid in transferring it to the pan. Unfold the pastry, ease it into the pan, and add the filling. Add the top crust, seal the edges, and cut slits in the top.
Whether you eat pie today or not, enjoy an epic pi day 2015.